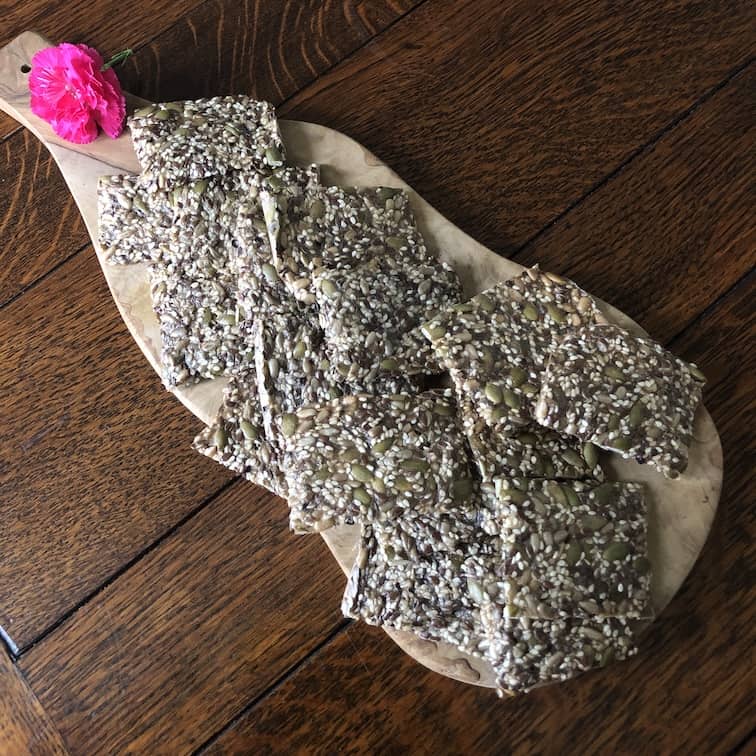
Are you gluten intolerant and still searching for a decent and tasty but healthy snack?
These seeded crackers may be just what you’re after. They are simply delicious and so easy to make and good for you too.
The search to a scrumptious gluten-free cracker
Discussions about foods and healthier options often come up during a treatment session.
Certainly gluten free and vegan options are more plentiful than they used to be but can still be full of binding agents, fillers and less than natural ingredients. I came across this recipe and had to try it because it’s different from so many other cracker recipes out there. The difference being that the main binding agent is psyllium (pronounced silly-um).
The benefits of Psyllium
There are many benefits to using psyillium in recipies:
- It absorbs water so that increases in bulk and results in food staying in your stomach so that you feel fuller for longer.
- As it absorbs water it aids the transition of food through your digestive system and helps relieve constipation.
- Water soluble fibre, as psyllium is, has been shown to help regulate your blood sugar levels.
- Psyllium is able to bind to fat and bile acids, which promotes their excretion from your body. To replace bile acids, the liver uses cholesterol to produce more this results in a decrease in blood cholesterol levels. Psyllium can also help to increase the good HDL cholesterol levels.
- It is considered to be a prebiotic which helps the beneficial bacteria in our digestive system to thrive.
- Psyllium is broken down more slowly than other fibres so means that it doesn’t create gas and digestive discomfort.
Beneficial quantities are higher than the levels in these crackers, however any food that is good for you and increases your beneficial fibre intake can only be a good thing.
What you need to make these gluten-free crackers
So to the recipe itself.
They do take a bit of time to bake in the oven and being moreish have the tendency to disappear quickly so I usually make up a double batch from the quantities shown below:
Ingredients:
- 200g Sunflower seeds
- 200g pumpkin seeds
- 60g flaxseeds
- 100g sesame seeds
- 2tbsp psyllium husks
- 500ml water (preferably filtered)
- pinch of salt (the recipe I used said 1tsp I found this to be far to salty so you may need to experiment)
Of course you can change the raios and I sometimes add hem,p seeds as they give a slightly different texture. Have a play to get the mix you like.

Such a simple recipe
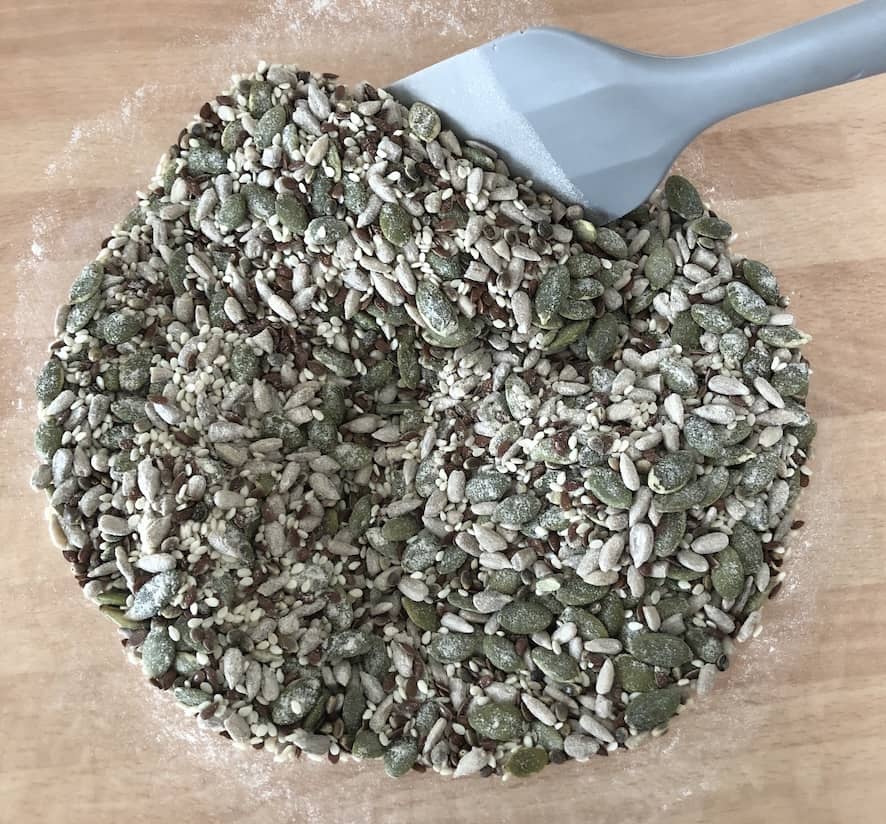
1 - Combine all the dry ingredients in a large mixing bowl.
Then add the water and and mix until the psyillium brings everything together.
Psyllium expands a lot very quickly as you stir it into the water.
It is fascinating to watch it become a gel and from that you can see how helpful and soothing it must be for our digestive systems. Don’t be fooled into thinking there is too much water!!
Leave the mixture to stand for 8-10 minutes to allow the psyllium to do it’s think and hold everything together.
2 - Spread the gluten-free cracker mixture out thinly
Pre-heat the oven to 160 c or 140 c if your oven cooks hot to avoid any burning.
Some sources recommend lining a baking tray with parchment paper. I tried this the first time and just found that the parchment paper stuck to the bottom of the crackers. I’m not sure this is a healthy addition to fibre intake so didn’t repeat!!
I just add a really thin layer of oil to the baking tray by adding a small amount then using my hand to spread it out as finely as possible, this worked a treat.
For this batch I placed the non stick matting I use for my dehydrator to line the tray this worked really well. I appreciate not many people will already have them.
Spread your cracker mix out as thin as you can making sure that it is a complete layer with no gaps/holes. This helps reduce baking time and give a lovely crisp crunch to the cracker. You may find you need more than one tray.

3 - Bake in the oven for 1 hour - but don't just leave them
Sometimes it can take a little longer depending how thick they are.
You will need to check in on them.
I set the alarm for 20 minutes to take them out and score appropriately sized crackers. Make sure you cut/push all the way through. I also found it sped the cooking time up to flip them over part way through and or break them down into individual crackers when they are firm enough.
Make sure that they are crispy before removing from the oven, then leave to cool.
If you leave them alone for that long, well done for resisting the temptation – I didn’t.
Here’s the finished batch of gluten-free crackers.
You can then just store them in an airtight container, they store for quite some time. They’re normally eaten within two weeks so I can confirm they keep for that long at least.
If you make a couple of bathes they freeze really well too.
To healthy and happy nutritious eating 🙂
I hope you find them as tasty as we do.